Using Sunny Honey Bali Bronzing Foam is a straightforward process that can help you achieve a sun-kissed glow without the harmful effects of UV rays. Below, I’ll guide you through the steps to ensure you get the best results from this product.
Step 1: Preparation
Before applying the bronzing foam, it’s essential to prepare your skin properly. Start by taking a shower and exfoliating your skin to remove any dead cells and ensure a smooth surface for application. This step helps the bronzing foam to adhere evenly to your skin, preventing streaks or patches.
Step 2: Gather Your Supplies
Gather all the necessary supplies before you start applying the bronzing foam. You’ll need the Sunny Honey Bali Bronzing Foam, an applicator mitt or gloves (provided with the product or purchased separately), a mirror, and a towel to wipe off any excess product.
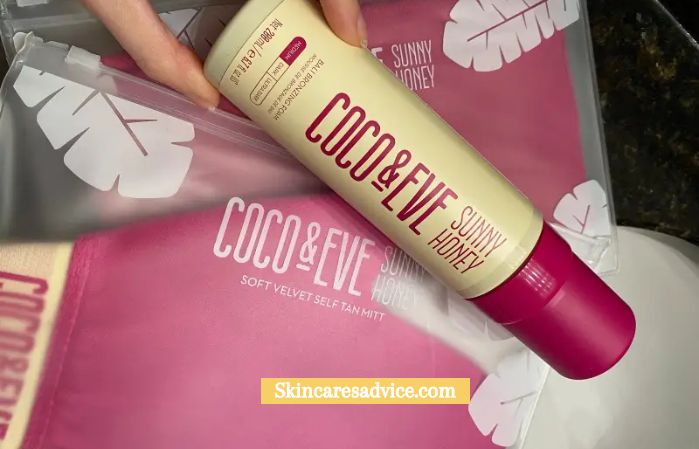
Step 3: Shake the Bottle
Shake the bottle of Sunny Honey Bali Bronzing Foam well before use. This ensures that the product is properly mixed, providing a consistent and even application.
Step 4: Apply the Foam
- Dispense the Foam: Pump a small amount of bronzing foam onto your applicator mitt or gloves. Start with a modest amount to avoid over-application.
- Start from Bottom to Top: Begin applying the foam to your skin, starting from your feet and working your way up. This method prevents creases or smudges that may occur if you bend over after applying the product to your upper body.
- Use Long Strokes: Use long, sweeping motions to apply the foam evenly over your skin. Avoid rubbing it in too vigorously, as this can cause streaks.
- Blend Well: Make sure to blend the product well, especially around joints and areas where the skin folds, such as knees, elbows, and ankles. This prevents the product from accumulating in these areas and creating dark patches.
- Take Your Time: Don’t rush the application process. Take your time to ensure thorough coverage and avoid missing any spots.
- Face Application: If you’re applying the bronzing foam to your face, use a small amount and blend it gently. Be careful around the hairline and eyebrows to avoid staining.
Step 5: Allow to Dry
Once you’ve applied the bronzing foam evenly to your skin, allow it to dry completely before getting dressed or coming into contact with water. This usually takes around 5-10 minutes, but it’s essential to follow the specific instructions provided with the product.
Step 6: Wash Your Hands
After applying the bronzing foam, wash your hands thoroughly with soap and water to remove any residue. This prevents your palms from becoming discolored.
Step 7: Maintenance
To extend the life of your tan, moisturize your skin daily with a hydrating lotion. This helps to prevent the tan from fading unevenly and keeps your skin looking smooth and healthy.
Additional Tips:
- Avoid Water: Avoid swimming, showering, or sweating for at least 6-8 hours after application to allow the tan to develop fully.
- Build Gradually: If you’re looking for a deeper tan, you can apply additional layers of the bronzing foam once the first layer has dried completely. However, it’s essential to build the tan gradually to avoid overdoing it.
- Patch Test: Before applying the bronzing foam to your entire body, perform a patch test on a small area of skin to check for any adverse reactions.
By following these steps and tips, you can achieve a beautiful, natural-looking tan with Sunny Honey Bali Bronzing Foam. Remember to read and follow the specific instructions provided with the product for the best results. Enjoy your sun-kissed glow!